Product Description
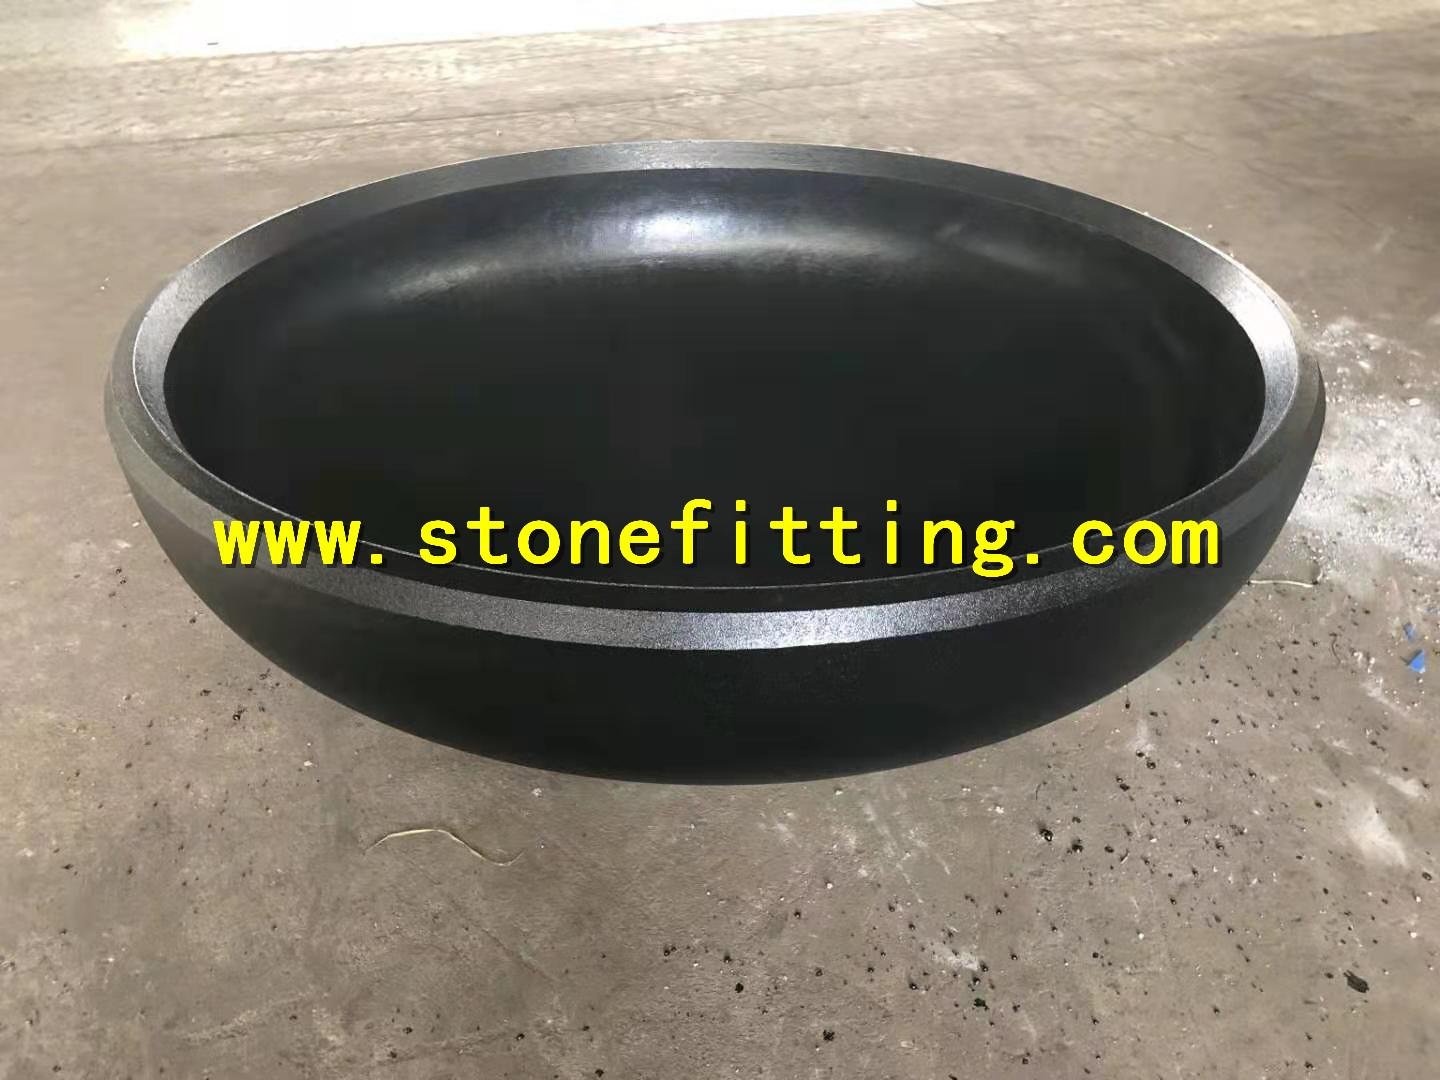
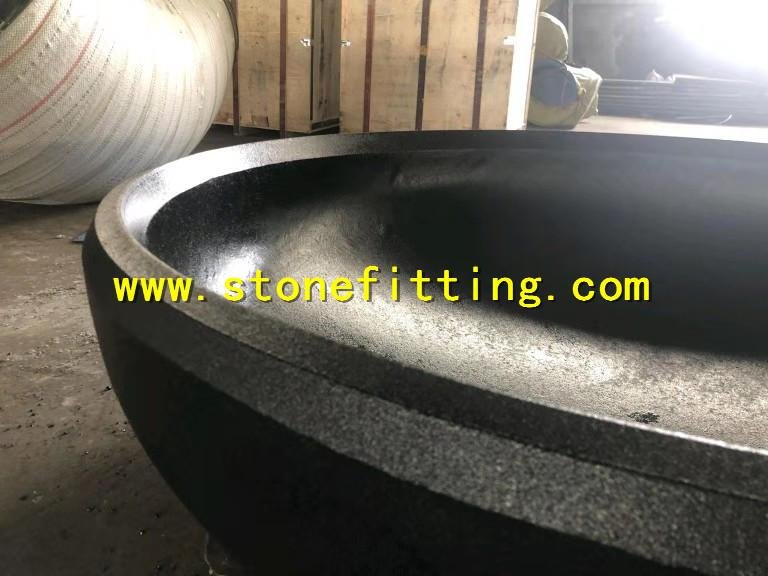
ASTM A860 – Wrought High-Strength Low-Alloy Steel Butt-Welding Fittings
Grade: WPHY65
A860 WPHY65 is wrought high-strength low alloy steel for butt-welding fittings of seamless and electric fusion welded construction covered by the latest revisions of ASME B16.9, ASME 16.28, and MSS-SP-75. Butt-welding fittings differing from these ASME and MSS standards shall be furnished in accordance with Supplementary Requirement S58 of Specification A 960/A 960M. These fittings are for use in high-pressure gas and oil transmission and distribution systems.
Chemical Compositions (max, %) Heat analysis
C: 0.20
Mn: 1.00-1.45
P: 0.030
S: 0.010
Si: 0.15-0.40
Ni: 0.5
Cr: 0.3
Mo: 0.25
Cu: 0.35
Ti: 0.05
V: 0.1
Cb: 0.04
V+Cb: 0.12
Ti: 0.06
1. The carbon equivalent as calculated by the following formula, shall not exceed 0.42%:
CE=C+Mn/6+(Cr+Mo+V)/5+(Ni+Co)/15.
2.If vacuum carbon deoxidation is used, silicon shall not exceed 0.10% by heat analysis and 0.12% by product analysis.
3. The sum of Ni+Cr+Mo+Cu shall not exceed 1.0%.
Mechanical Requirements
|
Property
|
WPHY 65
|
|
Yield strength, minA 0.2 % offset, ksi [MPa]
|
65 [450]
|
|
Tensile strength, ksi [Mpa]
|
77[530] −102 [705]
|
|
Elongation:
|
|
|
Standard round specimen, or small-size proportional specimen, min, % in 4D
|
25
|
|
Rectangular specimen, for section thickness 5⁄16 in. [7.94mm] and over, and for all small sizes tested in full section; min, % in 2 in. [50 mm].
|
32
|
|
Rectangular specimen for thickness less than 5⁄16 in. [7.94mm]; min, % 2 in. [50 mm]. Width of specimen 11⁄2 in. [40mm].
|
B
|
Toughness: Cv energy absorption C; measured at −50°F [−46°C].
|
Size, mm
|
Average/min, ft·lbs[J]
|
Lateral Expansion min, MLS[mm]
|
|
10 × 10
|
30/25 [40/34]
|
25 [0.64]
|
|
10 × 7.5
|
25/21 [34/28]
|
21 [0.53]
|
|
10 × 5
|
20/17 [27/23]
|
13 [0.33]
|
A) Actual yield strength shall not exceed specified minimum by more than 15 ksi [105 MPa].
B) For each 1⁄32-in. [0.79 mm] decrease in section thickness below 5⁄16 in. [7.94 mm], a deduction of 1.5 % from the elongation value of specimens above 5⁄16 in. [7.94mm] is permitted. When the section thickness lies between two values defined above, the minimum elongation value is determined by the following equation: E = 48t + 15.00
where: E = elongation % in 2 in. [50 mm], and t = actual thickness of specimen
C) These requirements are intended to minimize fracture initiation. The requirements are not intended to give assurance against fracture propagation.
Hardness Requirements
Fittings shall have a maximum hardness of 22 HRC (235 HB).
Payment Terms︰
TT
Product Image


